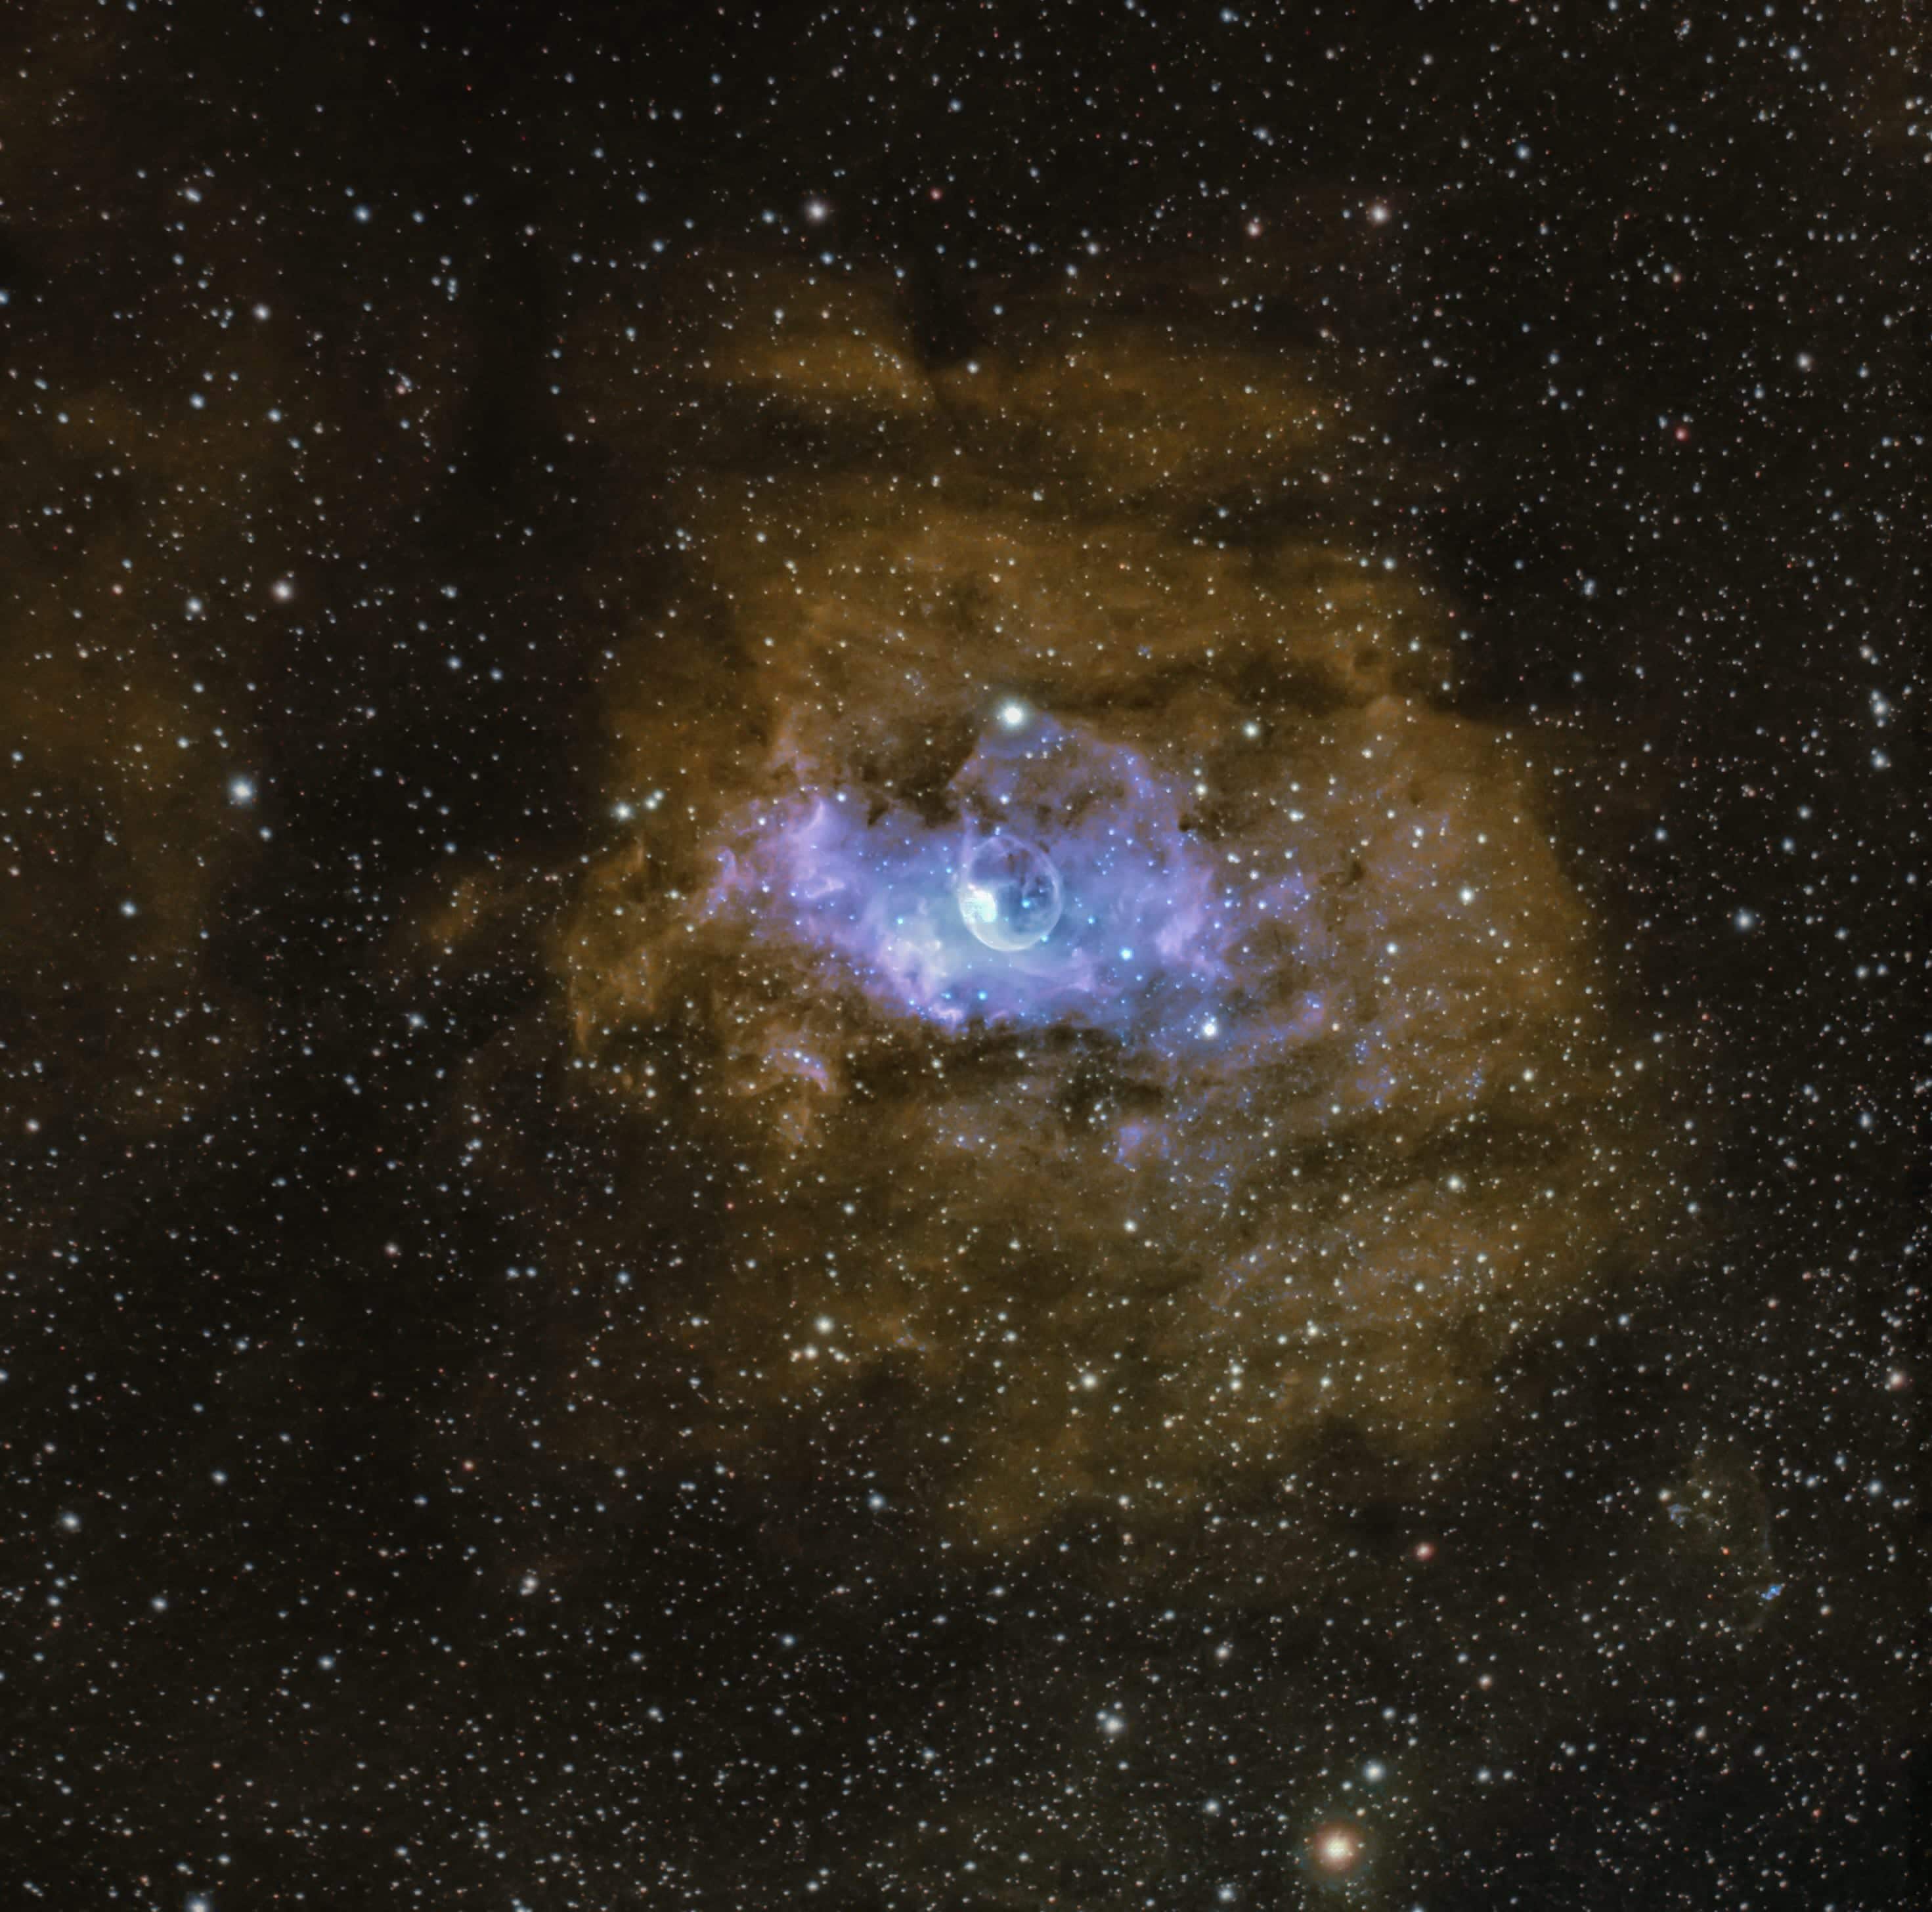
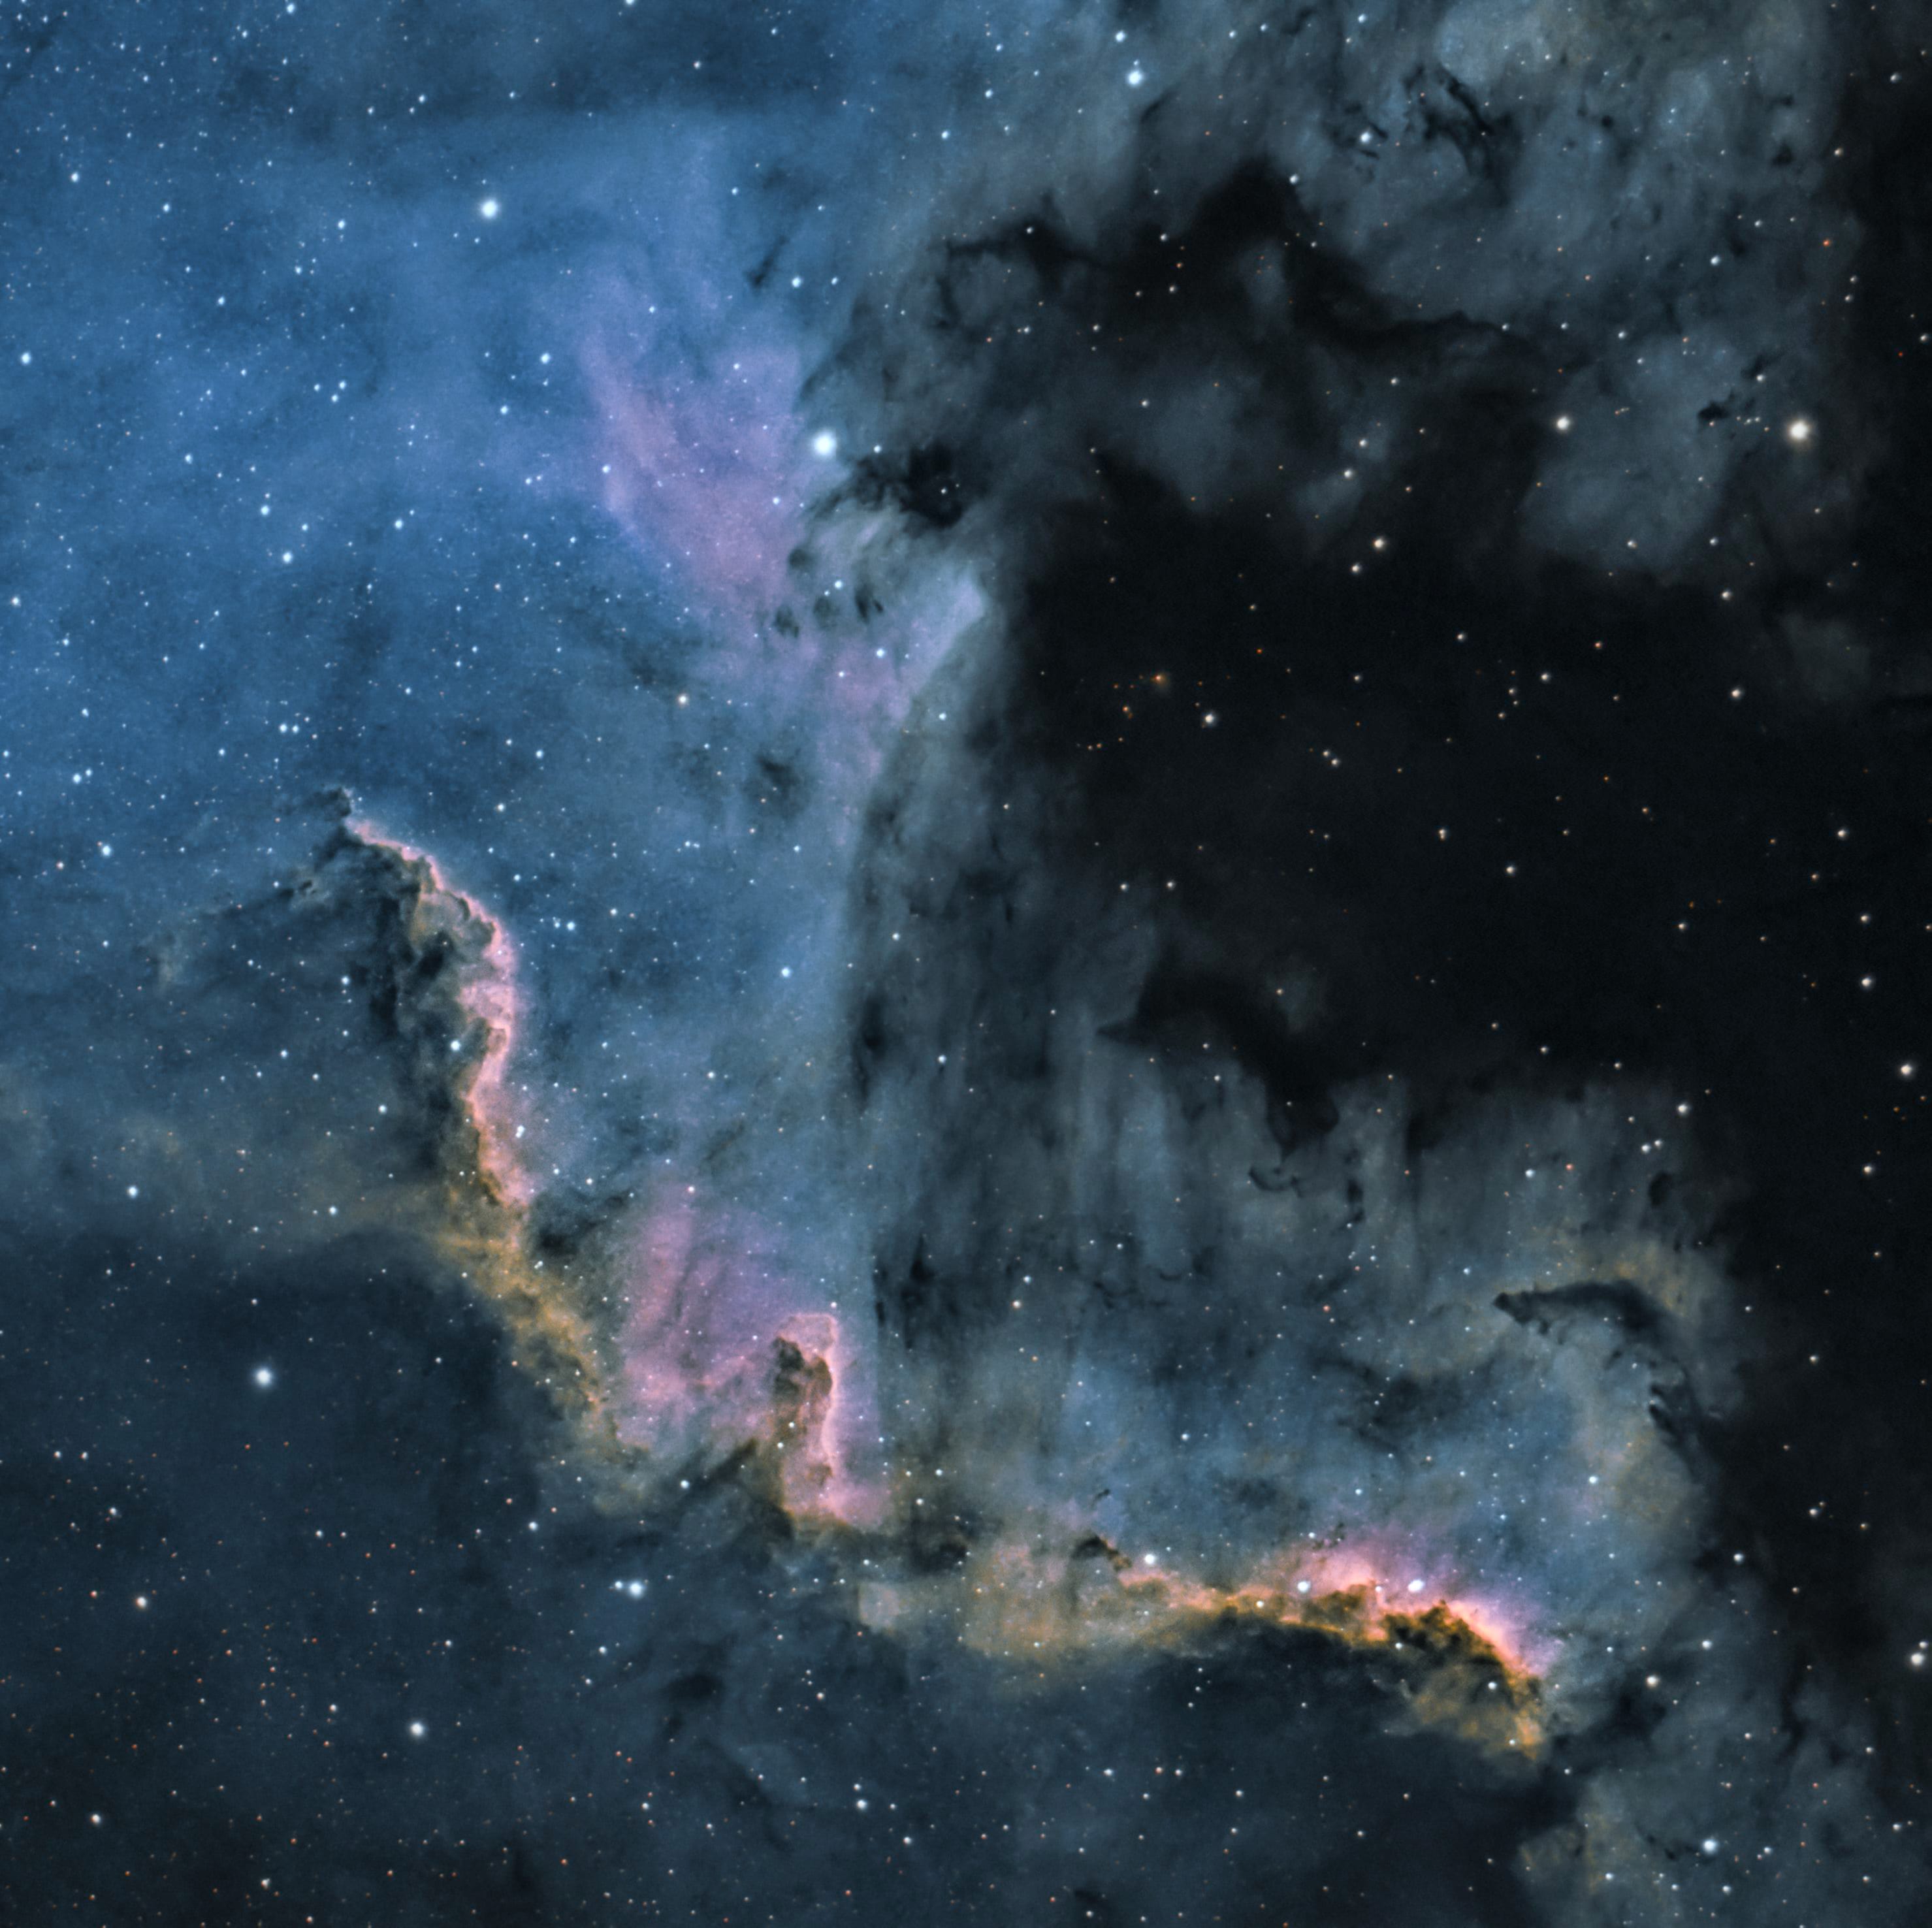
IOP Student Stuart McMillan has been producing some excellent astrophotography and we wanted to share his work with you. We asked Stuart how he is achieving these excellent results.
“I have been doing astrophotography for approx. 2 years now, I use the Explore Scientific 127ED telescope, an ASI533mc pro dedicated astrophotography camera and a CEM60 mount. I also use a guide scope for better tracking/guiding and filter amongst other bits and bobs. Below is what I do for a standard clear night set-up.”
Balance and level mount
Align the mount approx. due north
Power up mount and cameras
Polar align the mount/scope
The below is all programmed through a product called the ASIAIR PRO and using my tablet:
Slew to target (at this point the mount is tracking)
Plate solve to ensure I’m centre on the target
Set up my guiding scope/camera and start guiding (this helps me achieve 3min + exposures without stars trailing)
Programme my main camera to take desired exposure (amount of and how long each exposure, also set the camera to -10 degrees to prevent noise)
Start my session:
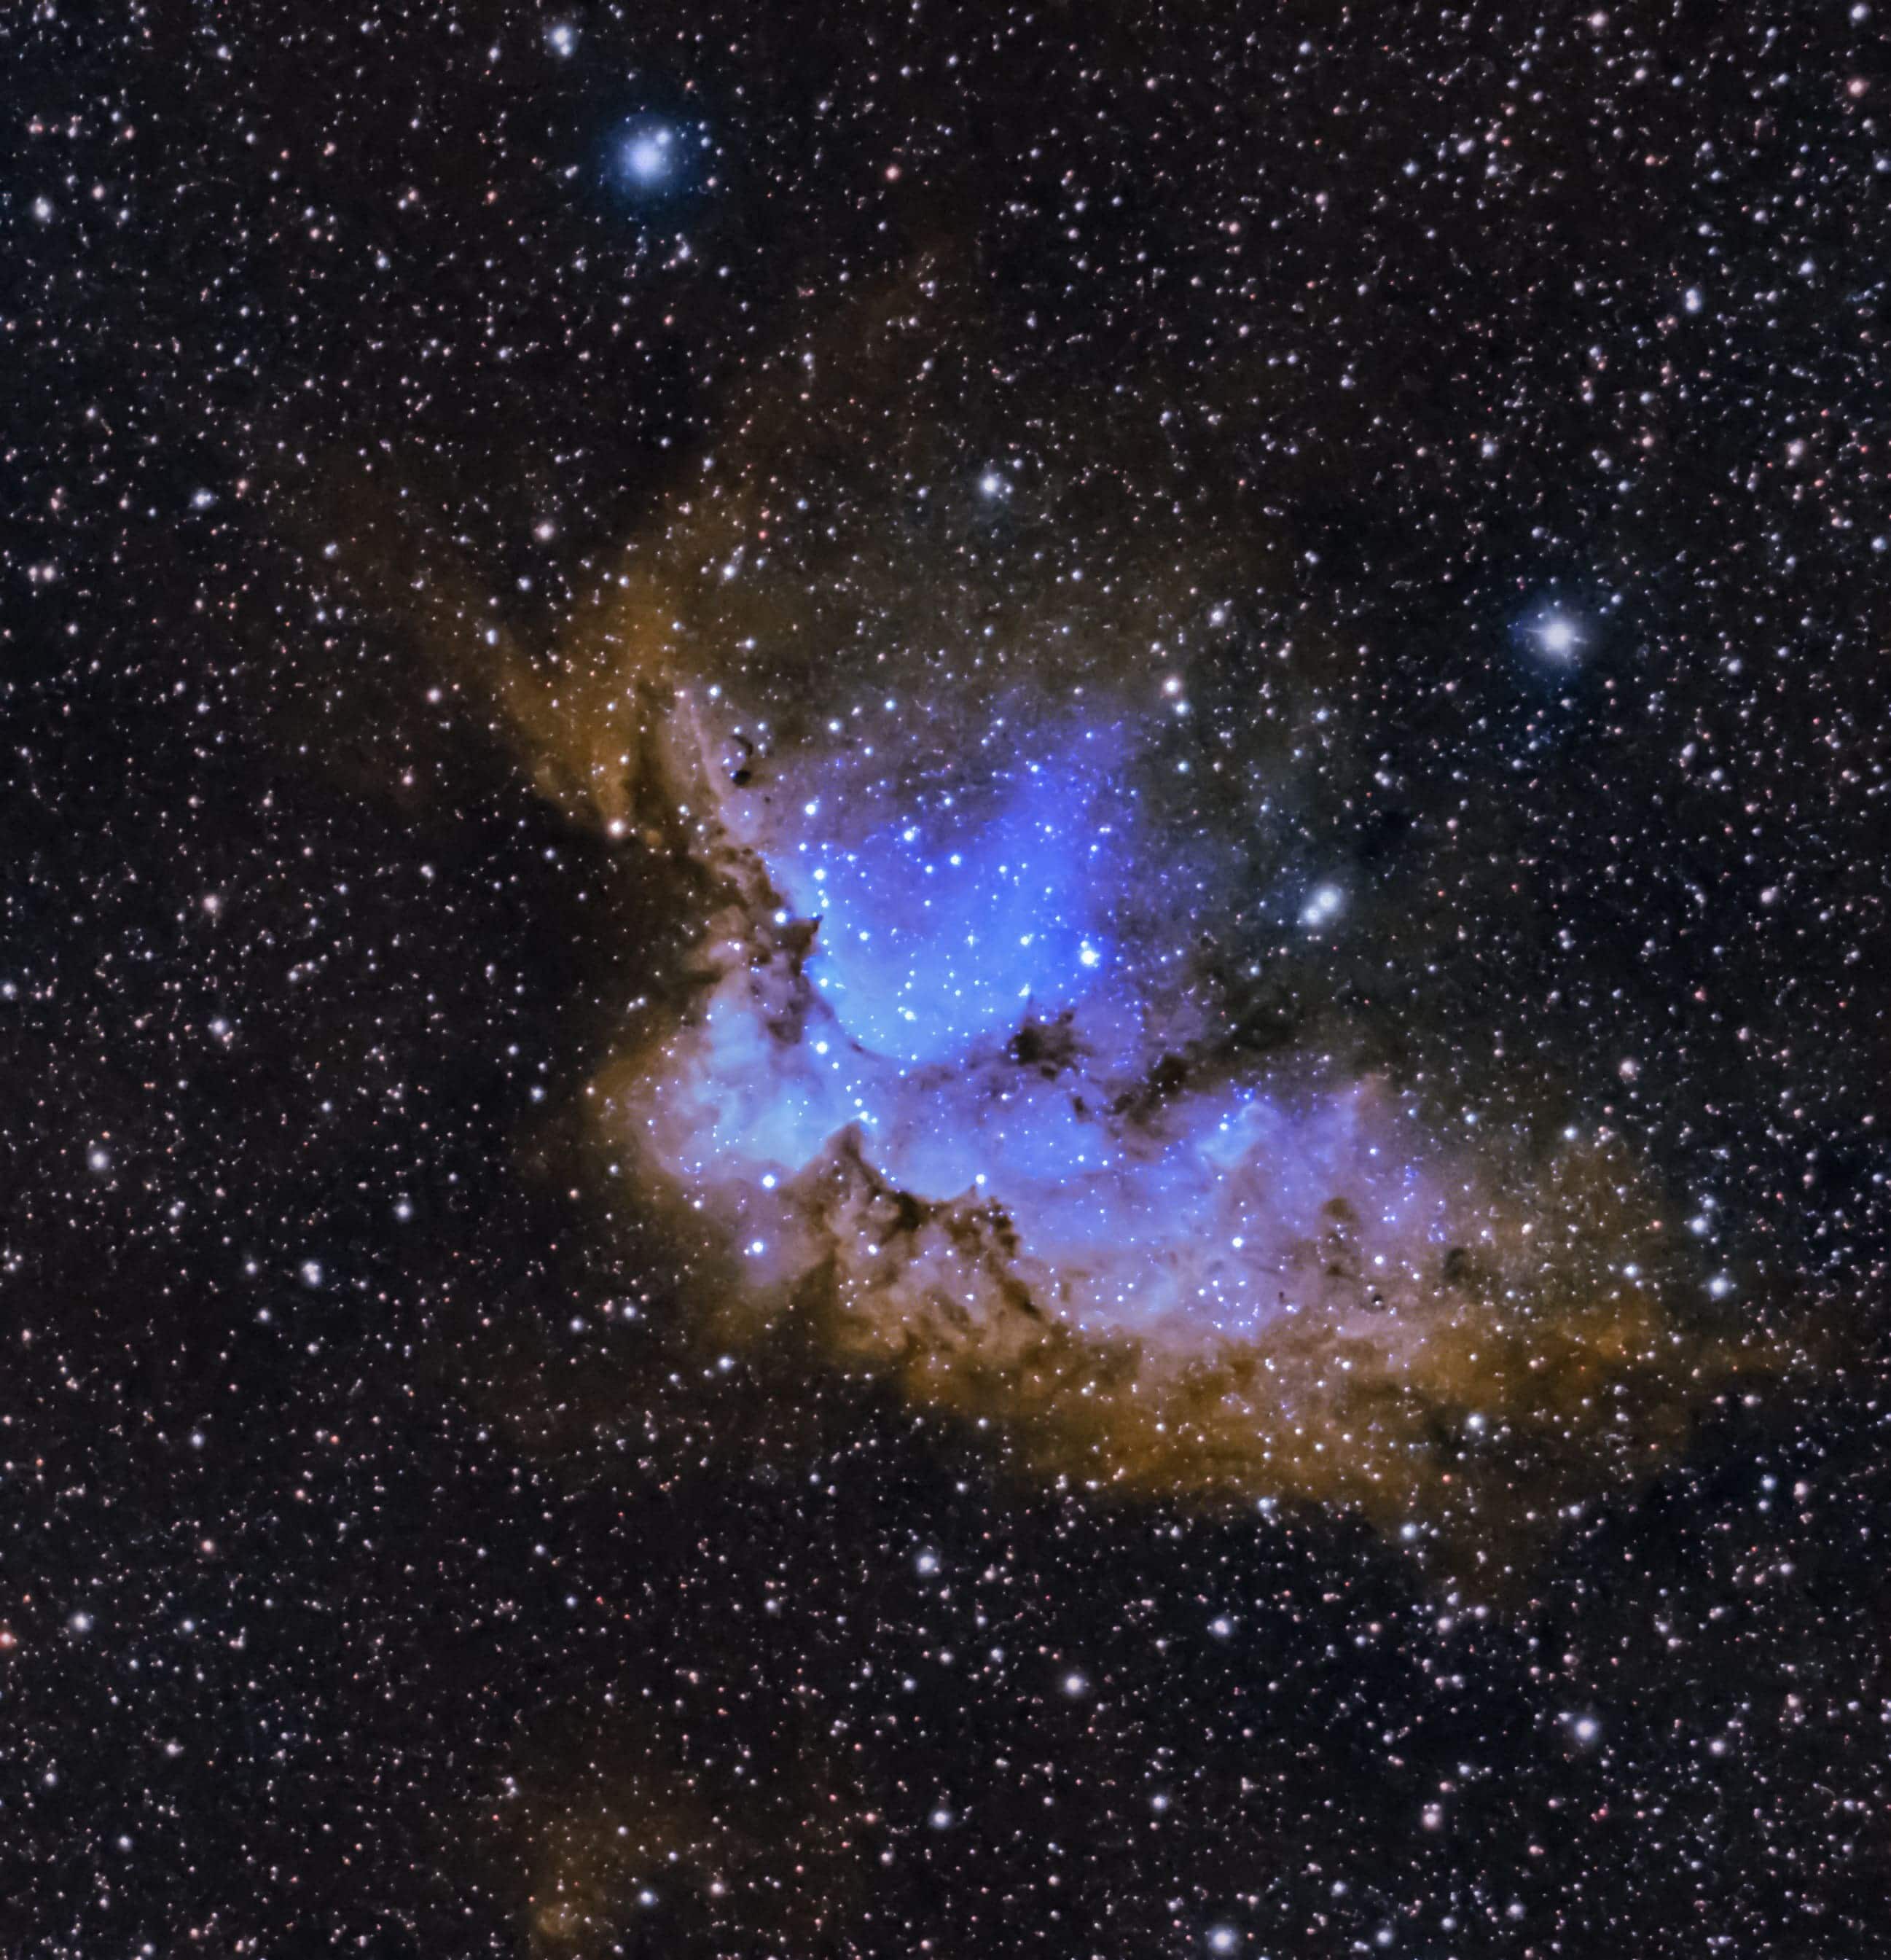
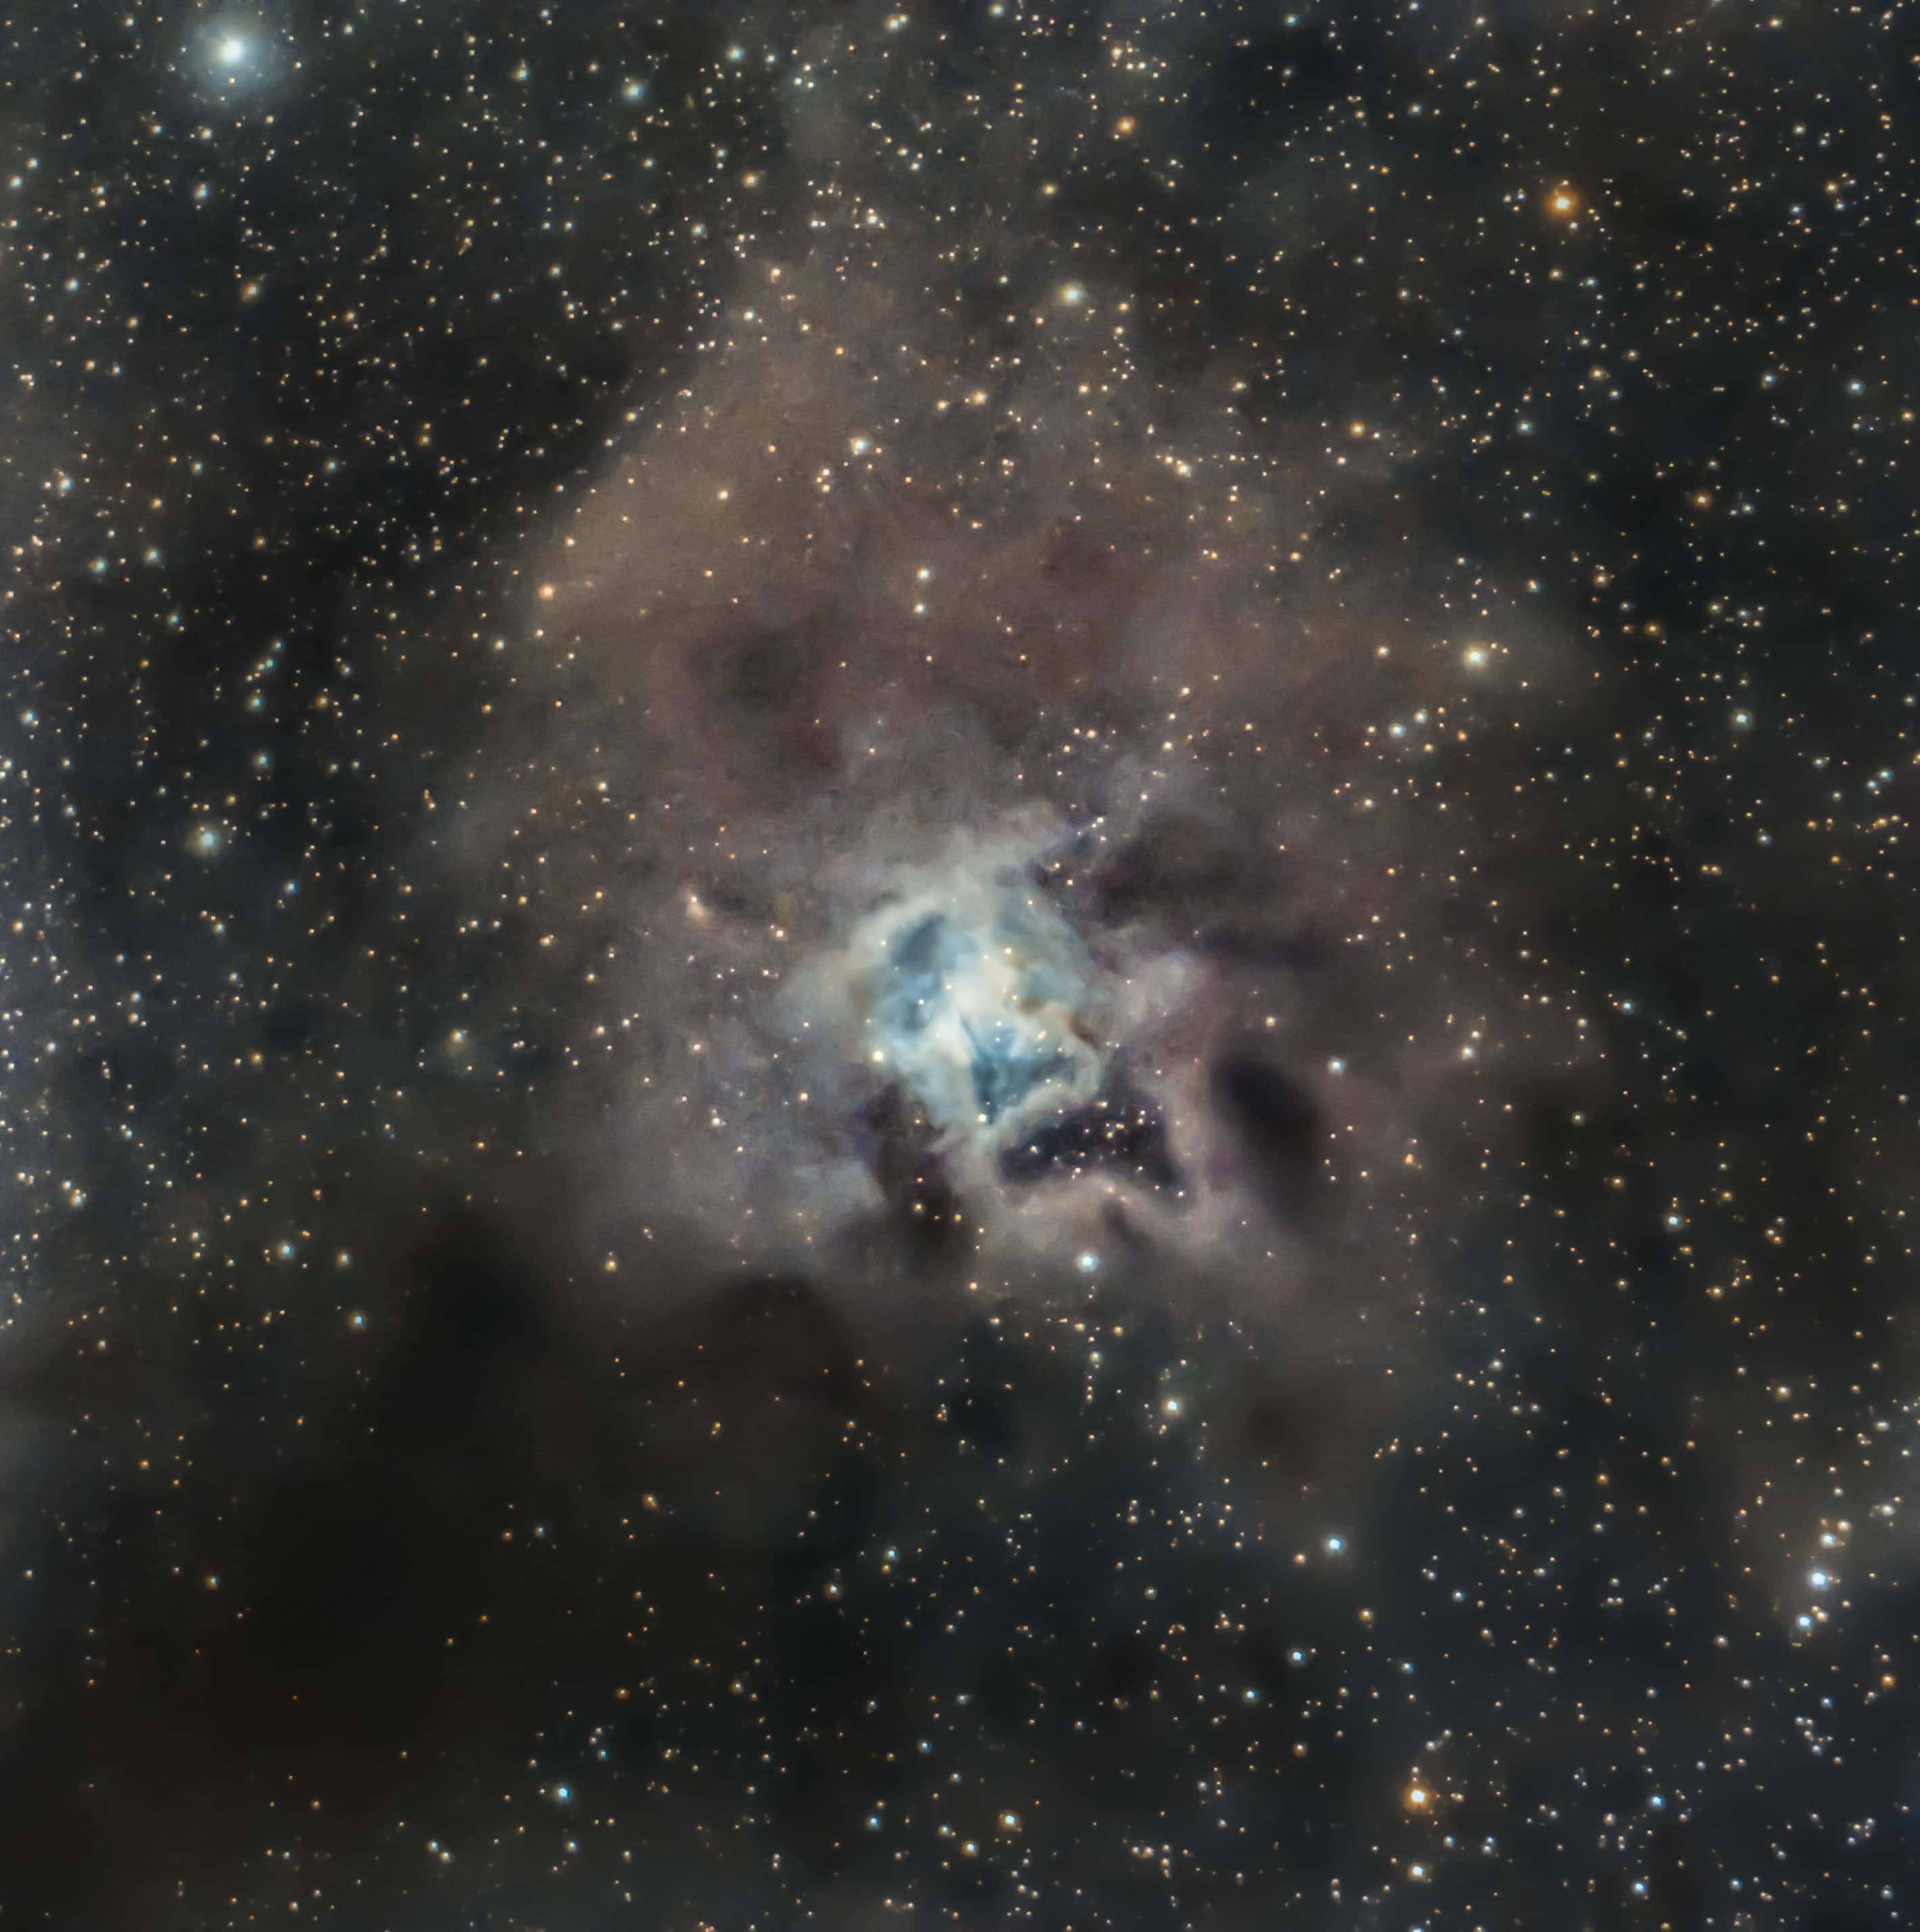
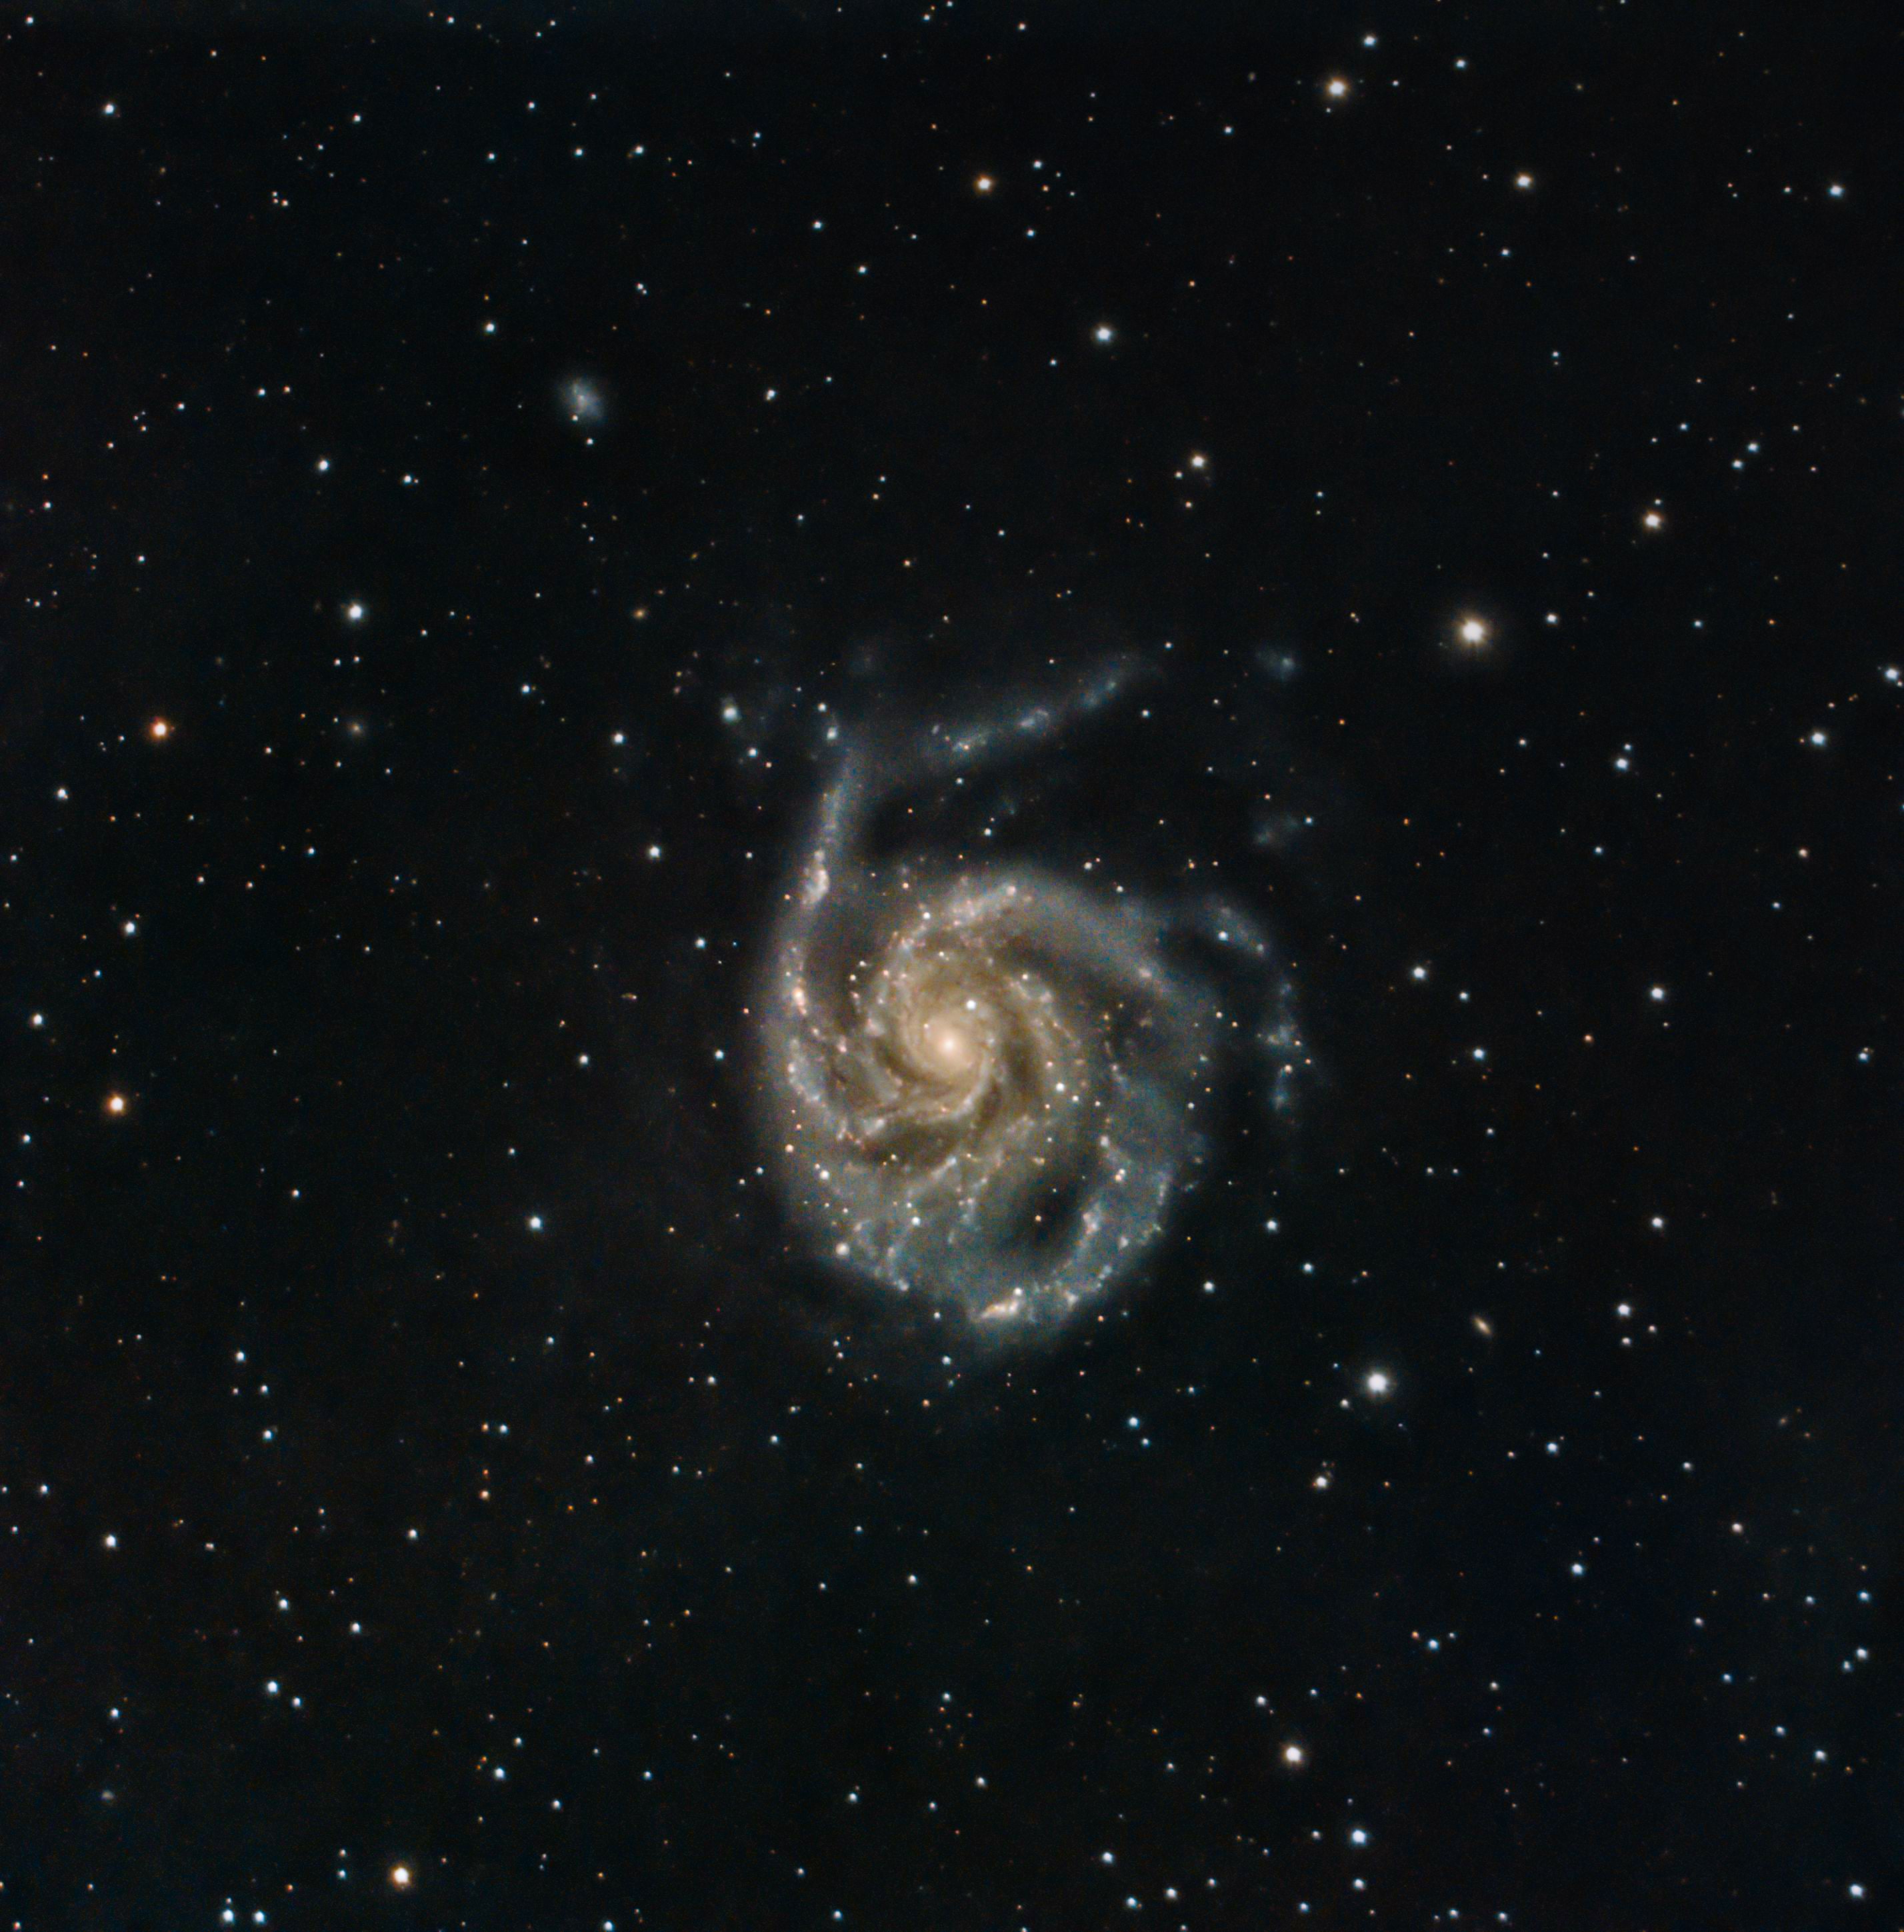
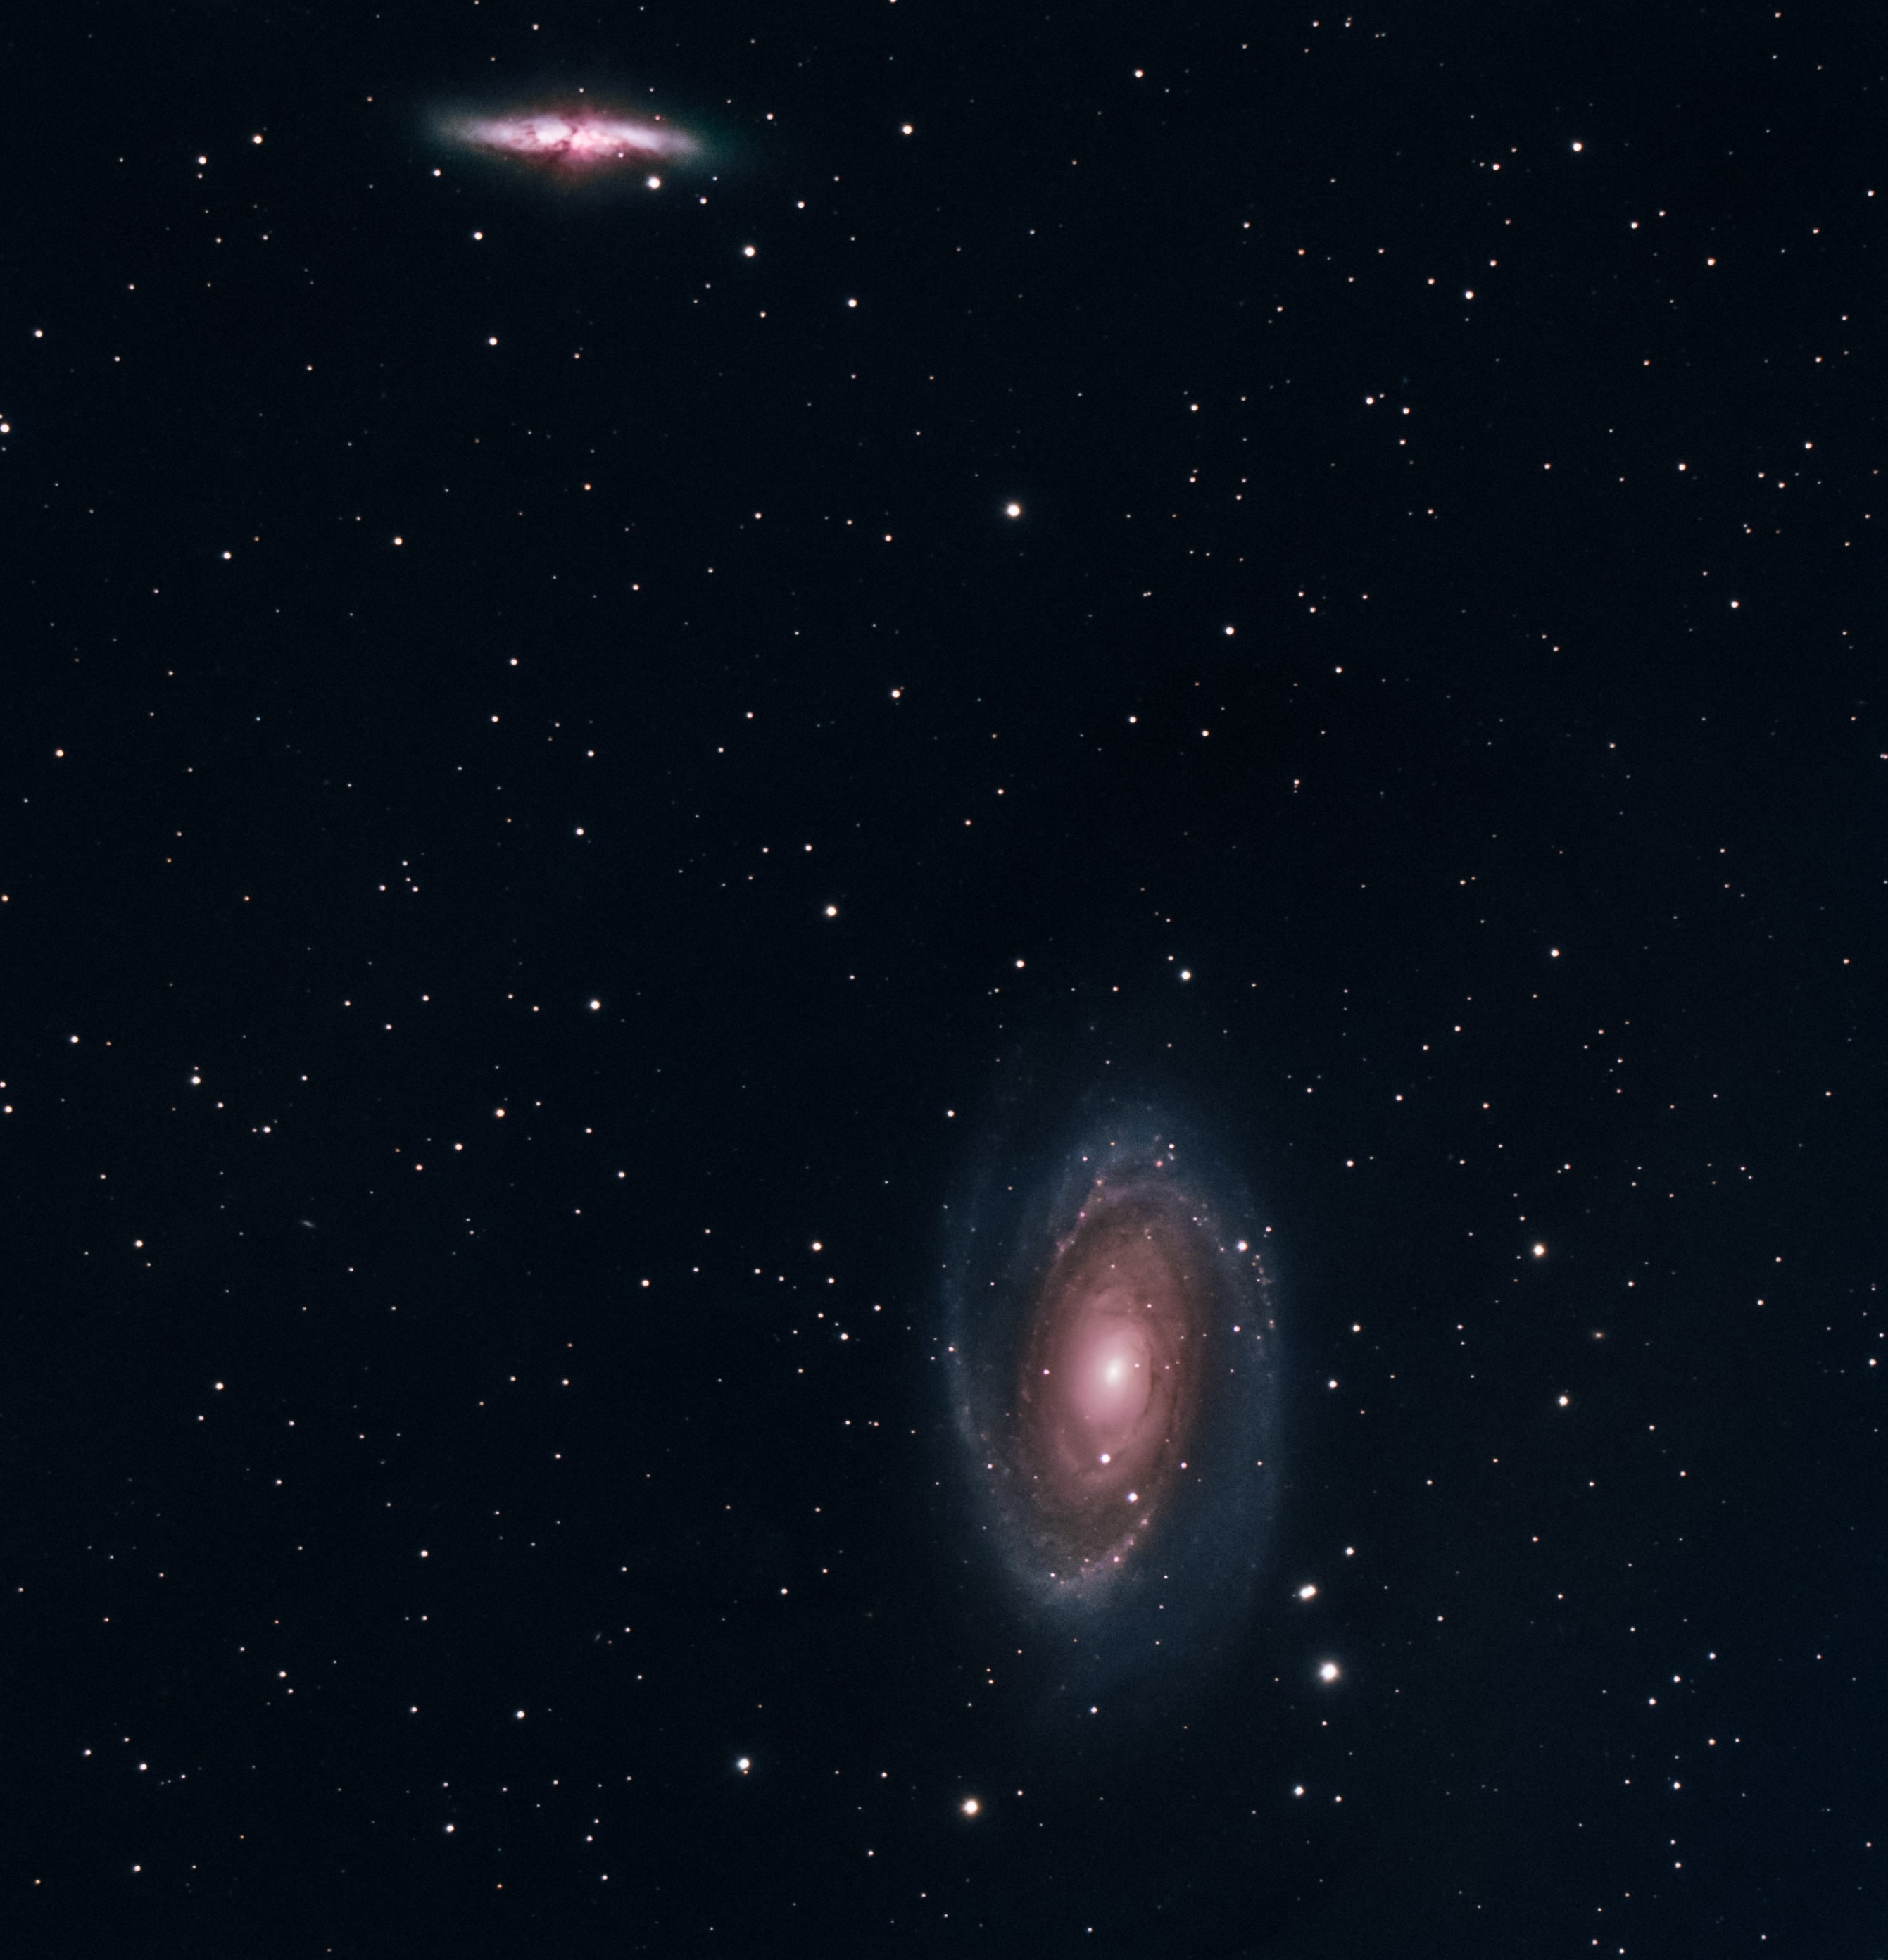
“I aim to get between 5-10 hours worth of photos/data on each target but it’s difficult in summer months due to short nights, winter nights are great as they are long/dark expect the weather doesn’t always play ball.”
Check out some of Stuart’s work below and if you want to get involved with an IOP online photography course, enrol here